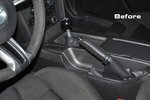
So I got my E-brake and Shift boots from Redline in and decided to install them today. Figured I do a little write up for people so they know what they're getting into before hand. It's really not that hard, probably took me an hour or so start to finish.
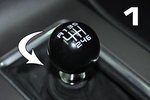
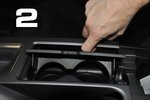
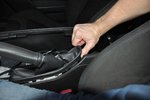
First thing you need to do is remove the shift knob and then remove the center console. Open the center storage and just pull up on the cupholder, there are two clips under the radio that slide back. Then unplug the TC/Trunk button thing from the bottom. After that it will just come right off. No screws very simple. The E-brake will just pull up from the back side and slide off.
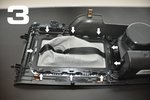
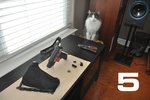
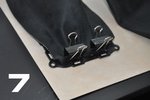
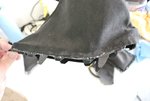
To get the stock boot off you need to turn it over and unhook these silver clips from the bottom as you pull it out. Pretty straight forward.
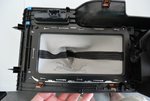
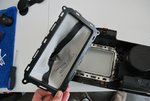
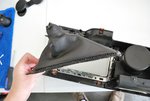
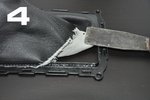
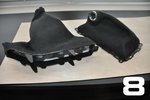
The Redline boots do not come with the plastic surrounds for either boot since they're custom made. As you can see on the stock one, it's glued and then crimped all the way around. You have to pull the boot off of the plastic surround. Get started with small pliers and then you can reach from the inside and just work it all the way around. Know that since they crimped it so thin on the stock one, it's going to rip and your stock boots will be ruined.
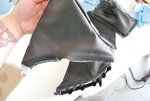
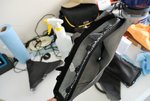
After you get the old ones off you just need to glue the Redline boots on there somehow. I used a 2 part epoxy that sets up in 60 seconds. I mixed enough for one side of the square, glued it on and let it set. Then repeat for all sides. They fit on nice and easy. Be sure to pay attention to the orientation of the stock boots. They have a shorter and longer side so you need to remember which end goes on what side of the plastic part.
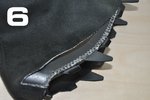
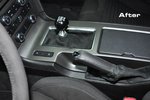
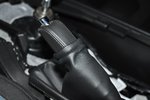
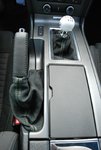
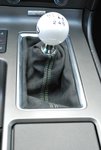
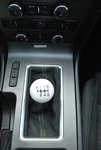
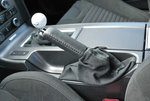
Once dry just install in reverse and put back into car. My custom ones are Black Alcantara with light green quad stitching to match the GHIG.
Pay no attention to the MGW knob, my EPCO GHIG one hasn't come in the mail yet, so it'll match much better after that.
First thing you need to do is remove the shift knob and then remove the center console. Open the center storage and just pull up on the cupholder, there are two clips under the radio that slide back. Then unplug the TC/Trunk button thing from the bottom. After that it will just come right off. No screws very simple. The E-brake will just pull up from the back side and slide off.
To get the stock boot off you need to turn it over and unhook these silver clips from the bottom as you pull it out. Pretty straight forward.


The Redline boots do not come with the plastic surrounds for either boot since they're custom made. As you can see on the stock one, it's glued and then crimped all the way around. You have to pull the boot off of the plastic surround. Get started with small pliers and then you can reach from the inside and just work it all the way around. Know that since they crimped it so thin on the stock one, it's going to rip and your stock boots will be ruined.


After you get the old ones off you just need to glue the Redline boots on there somehow. I used a 2 part epoxy that sets up in 60 seconds. I mixed enough for one side of the square, glued it on and let it set. Then repeat for all sides. They fit on nice and easy. Be sure to pay attention to the orientation of the stock boots. They have a shorter and longer side so you need to remember which end goes on what side of the plastic part.

Once dry just install in reverse and put back into car. My custom ones are Black Alcantara with light green quad stitching to match the GHIG.
Pay no attention to the MGW knob, my EPCO GHIG one hasn't come in the mail yet, so it'll match much better after that.


