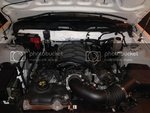
Hello all-
I was encouraged by NFSBOSS to start a build thread on my work-in-progress racecar so here we go I will apologize in advance for the length, as this will chronicle my history with the car for the last 3+ years.
Background info:
I special ordered my 2012 Mustang GT (only options were Brembo brakes and 3.73s) and picked it up in August of 2011. I had no experience with sports cars and didn't even know how to drive a manual, but I knew I wanted a fun car so I thought "what the hell" and dove right in. I live about 40 miles away from Hallett Motor Racing Circuit and would pass by the track frequently going to college (OSU) and back home. I always thought it looked fun and now that I had a fun car and a little disposable income, it was finally my turn to try my hand at open track driving.
Brand new and unmolested
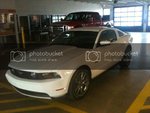
My original plan with the car was to do a few simple mods (exhaust, springs, and tune) and just have a fun street car. But after my first track day that all went out the window. The track bug bit HARD. I loved it. I was slow and terrible but I had so much fun.
First day on track. Only mods are springs and exhaust.


Man I was slow
http://youtu.be/UqxgOp6TPvk
Started doing a few more track days at Hallett and decided I needed some new wheels. I picked up 2 sets of 18x10 SVE drifts.
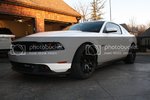
After a year or so I made the jump to R-comps, roll bar, and race seats. I also decided to start trailering to and from the track. Many of you are all too familiar with how this progression works...lol
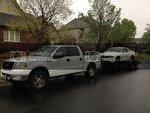
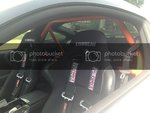
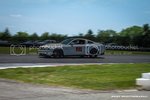
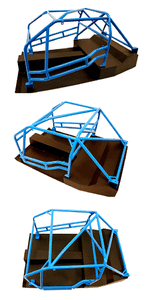
So...fast forward to the present time. In September of 2014 I did an open track weekend at Hallett and during that event was when I decided I wanted to get into wheel-to-wheel racing. I will be building the car to primarily race in Hallett's COMMA race series in the GT2 class. However, the car/cage will meet NASA ST/AI requirements should I decide to go that route at some point in the future.
Modifications to the car as it sits:
Exterior
-18x10 SVE Drift wheels (tires vary but Pirelli 305/645./18 slicks are my favs)
-ARP wheel studs
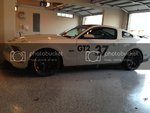
-Flat black roof vinyl
-Homemade WC-esque splitter
-Grille removed
-Rear bumper cut up
-Sparco hood pins
-Steeda spoiler
-Ford Racing tow hooks
Suspension
-H&R race springs
-Koni adjustable shocks/struts (yellows)
-MM CC plates at -3 degrees
-Metco UCA and mount
-KB rear LCAs and relo brackets
-MM panhard bar
-No rear sway bar
Engine/Trans
-Ford Racing 47lb injectors
-AED e85 road race tune
-Lethal Performance O/R X-pipe
-Homemade "Vorshlag" type exhaust
-MGW Gen 1 shifter
-Spec stage 4 clutch
-Spec aluminum flywheel
Interior
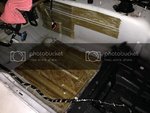
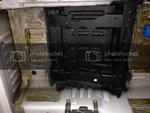
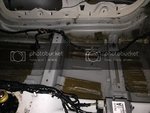
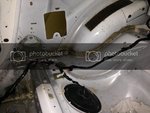
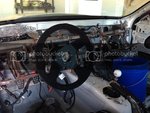
-Trim/panels/carpet removed
-HVAC system removed
-Audio system removed
-NRG suede race wheel/Gen 2.5 quick release/short hub adapter
-Sparco Evo II seat and side mounts
-Watson Racing seat mount
Brakes
-Carbotech XP 24s/10s
-Centric blank rotors
-Ford Racing brake ducts
-Titanium heat shilds
-SS lines
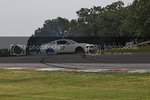
I don't really have a timeline for the build, just working on prepping the car as I have extra time. My wife and I are also building a 1960 Austin Mini for her so that is taking up time. And $$$! Currently the Mini is in the body shop. The guy who is working on her car right now will also be building my cage when the time comes so ideally her car will come home before mine goes out. We'll see Here are a few picture of the car at it's peak before I started tearing it apart.
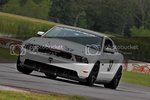
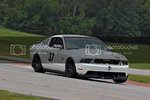
http://youtu.be/epwSCc7pptw
And here a few recent pics of the car
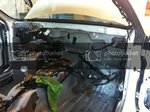
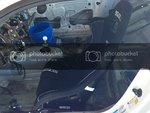
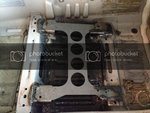
Thank you for following my progress. I will try to document my journey well as I attempt to turn this into a racecar
I was encouraged by NFSBOSS to start a build thread on my work-in-progress racecar so here we go
Background info:
I special ordered my 2012 Mustang GT (only options were Brembo brakes and 3.73s) and picked it up in August of 2011. I had no experience with sports cars and didn't even know how to drive a manual, but I knew I wanted a fun car so I thought "what the hell" and dove right in. I live about 40 miles away from Hallett Motor Racing Circuit and would pass by the track frequently going to college (OSU) and back home. I always thought it looked fun and now that I had a fun car and a little disposable income, it was finally my turn to try my hand at open track driving.
Brand new and unmolested

My original plan with the car was to do a few simple mods (exhaust, springs, and tune) and just have a fun street car. But after my first track day that all went out the window. The track bug bit HARD. I loved it. I was slow and terrible but I had so much fun.
First day on track. Only mods are springs and exhaust.


Man I was slow
http://youtu.be/UqxgOp6TPvk
Started doing a few more track days at Hallett and decided I needed some new wheels. I picked up 2 sets of 18x10 SVE drifts.

After a year or so I made the jump to R-comps, roll bar, and race seats. I also decided to start trailering to and from the track. Many of you are all too familiar with how this progression works...lol


So...fast forward to the present time. In September of 2014 I did an open track weekend at Hallett and during that event was when I decided I wanted to get into wheel-to-wheel racing. I will be building the car to primarily race in Hallett's COMMA race series in the GT2 class. However, the car/cage will meet NASA ST/AI requirements should I decide to go that route at some point in the future.
Modifications to the car as it sits:
Exterior
-18x10 SVE Drift wheels (tires vary but Pirelli 305/645./18 slicks are my favs)
-ARP wheel studs
-Flat black roof vinyl
-Homemade WC-esque splitter
-Grille removed
-Rear bumper cut up
-Sparco hood pins
-Steeda spoiler
-Ford Racing tow hooks
Suspension
-H&R race springs
-Koni adjustable shocks/struts (yellows)
-MM CC plates at -3 degrees
-Metco UCA and mount
-KB rear LCAs and relo brackets
-MM panhard bar
-No rear sway bar
Engine/Trans
-Ford Racing 47lb injectors
-AED e85 road race tune
-Lethal Performance O/R X-pipe
-Homemade "Vorshlag" type exhaust
-MGW Gen 1 shifter
-Spec stage 4 clutch
-Spec aluminum flywheel
Interior
-Trim/panels/carpet removed
-HVAC system removed
-Audio system removed
-NRG suede race wheel/Gen 2.5 quick release/short hub adapter
-Sparco Evo II seat and side mounts
-Watson Racing seat mount
Brakes
-Carbotech XP 24s/10s
-Centric blank rotors
-Ford Racing brake ducts
-Titanium heat shilds
-SS lines
I don't really have a timeline for the build, just working on prepping the car as I have extra time. My wife and I are also building a 1960 Austin Mini for her so that is taking up time. And $$$! Currently the Mini is in the body shop. The guy who is working on her car right now will also be building my cage when the time comes so ideally her car will come home before mine goes out. We'll see


http://youtu.be/epwSCc7pptw
And here a few recent pics of the car


Thank you for following my progress. I will try to document my journey well as I attempt to turn this into a racecar
