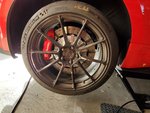
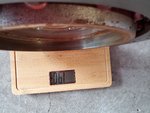
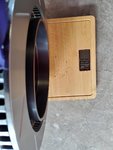
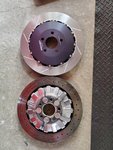
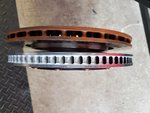
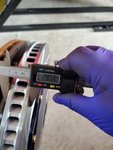
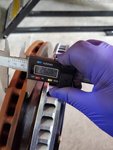
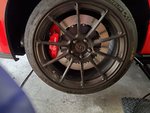
It was finally cool enough to hang out in my garage this week so I installed the rear Girodisc rotors on the GT350 last night. Bear with me as I write this up and update it. The discs are one pound lighter than stock. They fit perfectly and look better than OEM. I know that these will last a lot longer than the OEM rotors. My Front Girodisc has been on my car for track use only and has 8 track days on them with plenty of life left in the rings. So I am hoping the rears will last even longer than the fronts which I am sure they will. Right now I am running G-loc R12/R10 on track and GS1 on the street. I was changing my front rotors to the OEM for street duty but now I will just keep using the Girodisc rotors.
I will test drive the car over the weekend and provide an update if needed.
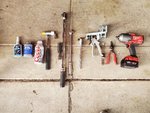
The only tools I used are as follows
BEER of CHOICE
3/4 lug socket
15mm socket
1/2 drive breaker bar
1/2 drive ratchet
extension
Impact gun
Rubber mallet
Torque wrench
Craftsman 41397 tack puller
Brake caliper spreader
Anti seize and / or blue loctite
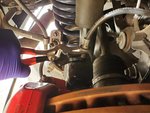
Hose removal pliers (these act as spreaders to remove the e-brake spring) https://www.amazon.com/dp/B07DMBZR59/?tag=tmo302-20 OR https://www.amazon.com/dp/B079P3LV8M/?tag=tmo302-20
Do the obvious: lift car, remove tire. Also ensure the e-brake is off. If not, I'm sure you'll have a hell of a time trying to get the rotor off.
Rotors are directional so beware of that.
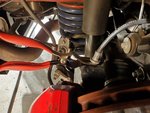
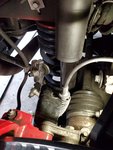
1) You can pull up the e-brake spring by hand and get the hose removal pliers under the metal cylinder. Then as you spread the pliers they will lift the e-brake cable up. I took the tack puller and placed it under the bottom of the metal cylinder and used it to guide the e-brake cable out of the bracket. It can be done other ways but this method seems to work best for me so far. And if anyone has a n easier way please let me know.
2) Remove the two caliper bolts.
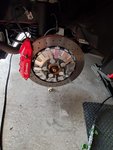
3) Remove caliper and support as needed.
4) You might need a rubber mallet to knock the rotor loose. You shouldn't have to bang on it too hard but some tapping in a circular motion will loosen it up if it is stuck.
5) Slide off rear rotor.
6) Install new Girodisc rotor.
7) Take brake caliper spreader and spread the rear pads.
7) Inspect and clean off old loctite on caliper bolts. This is where it is a personal preference. You can install anti-seize or loctite. I prefer to use anti-seize and torque to spec. Ford states 81 foot pounds. I do 70 foot pounds since I know this will be removed and it's going to help the threads last longer in the caliper.
8) Now for the fun part. That damn e-brake spring. Take a few swigs of your beer and cuss at the Ford Engineers that designed this. I took the tack puller and lifted it up as much as I could, then I used the hose removal pliers to lift it more and then get the tack puller completely under the metal cylinder and guided the cable through the slot. Once you get it high enough it will go into place pretty easily. Just make sure the spring stays on the bottom side of the bracket. It wants to come over the top.
9) Install tire and torque to your specs. Ford specs are 150 foot pounds +- 15. I torque mine to 130 foot pounds.


Last edited:


